
最近ブログを更新しようとWordpressにログインしようとするとSafariのURL表示のところに「Webサイトが安全ではありません」と表示されるようになってしまいました。
http接続のためだそうですが、いくら自分のサイトだからといって正直気になります。
また、最近はChromeがhttp接続の場合はログイン時に限らず警告を表示するようになるなど、
「Google Chrome 68」公開、HTTPサイトには容赦なく警告を表示する仕様に – INTERNET Watch
httpsが標準になりつつある時代になってきたこともあり、
当ブログでもLet’s Encryptを使用して常時https化してみました。
Wikipediaに
「LinuxのWebサーバーでは、HTTPSの暗号化の設定および証明書の取得・更新がわずか2つのコマンドによって可能である。」
と書いてあるなど、結構簡単にできると書いている方が多かったですが、自分の場合は結構手間取ったので、作業履歴を書いていきたいと思います。
1.certbotのインストール
Let’s Encryptでhttps化に必要な証明書を取得し設定するのにcertbotというソフトを入れる必要があるので、インストールをします。
基本的にdebianはapt-getでインストールできるらしいのですが、
Debian 8 (jessie)では、リポジトリの追加が必要との情報があり、確認してみたところ、
$ cat /etc/os-release
PRETTY_NAME=”Debian GNU/Linux 8 (jessie)”
NAME=”Debian GNU/Linux”
VERSION_ID=”8″
VERSION=”8 (jessie)”
ID=debian
HOME_URL=”http://www.debian.org/”
SUPPORT_URL=”http://www.debian.org/support”
BUG_REPORT_URL=”https://bugs.debian.org/”
$
私が使用していたのもDebian 8 (jessie)でしたので、まずリポジトリの追加を行いました。
$ cd /etc/apt/sources.list.d/
$ sudo vi backports.list
下記の1行を追加
deb http://ftp.debian.org/debian jessie-backports main
certbotのインストール
$ sudo apt-get update
$ sudo apt-get install python-certbot-apache -t jessie-backports
2-1.certbotの起動・設定(失敗)
certbotを入れた終わったらcertbotを起動し、設定します。
$ sudo certbot –apache
Saving debug log to /var/log/letsencrypt/letsencrypt.log
No names were found in your configuration files. Please enter in your domain
name(s) (comma and/or space separated) (Enter ‘c’ to cancel):aoboshi.org ←ドメイン名を入れる
Enter email address (used for urgent renewal and security notices) (Enter ‘c’ to
cancel):xxxxxx@gmail.com←自分のメールアドレスを入れる
Starting new HTTPS connection (1): acme-v01.api.letsencrypt.org
——————————————————————————-
Please read the Terms of Service at
https://letsencrypt.org/documents/LE-SA-v1.2-November-15-2017.pdf. You must
agree in order to register with the ACME server at
https://acme-v01.api.letsencrypt.org/directory
——————————————————————————-
(A)gree/(C)ancel:
(A)gree/(C)ancel: A←同意する
Obtaining a new certificate
Performing the following challenges:
Client with the currently selected authenticator does not support any combination of challenges that will satisfy the CA.
Client with the currently selected authenticator does not support any combination of challenges that will satisfy the CA.
IMPORTANT NOTES:
– If you lose your account credentials, you can recover through
e-mails sent to xxxxxxx@gmail.com.
– Your account credentials have been saved in your Certbot
configuration directory at /etc/letsencrypt. You should make a
secure backup of this folder now. This configuration directory will
also contain certificates and private keys obtained by Certbot so
making regular backups of this folder is ideal.
$
なぜかエラーを吐いて落ちました。
やり直しても同じでした。
2-1.certbotの起動・設定・復旧
調べたところ別のコマンドで代用できるそうでしたのでやってみました。
apacheを止める必要があるので、止めます。
$ sudo systemctl stop apache2
standaloneモードでcertbotを起動。-d オプションの後に自分のドメイン名を指定します。
$ sudo certbot –authenticator standalone –installer apache -d aoboshi.org
Saving debug log to /var/log/letsencrypt/letsencrypt.log
Starting new HTTPS connection (1): acme-v01.api.letsencrypt.org
Cert not yet due for renewal
You have an existing certificate that has exactly the same domains or certificate name you requested and isn’t clos
e to expiry.
(ref: /etc/letsencrypt/renewal/aoboshi.org.conf)
What would you like to do?
——————————————————————————-
1: Attempt to reinstall this existing certificate
2: Renew & replace the cert (limit ~5 per 7 days)
——————————————————————————-
Select the appropriate number [1-2] then [enter] (press ‘c’ to cancel): 1 ←中途半端に入ってしまったみたいなので入れ直す
Keeping the existing certificate
We were unable to find a vhost with a ServerName or Address of aoboshi.org.
Which virtual host would you like to choose?
(note: conf files with multiple vhosts are not yet supported)
——————————————————————————-
1: 000-default.conf | | |
2: default-ssl.conf | | HTTPS |
3: wordpress.conf | | | Enabled
——————————————————————————-
Select the appropriate number [1-3] then [enter] (press ‘c’ to cancel): 2 ←https用のバーチャルホストの設定をどのファイルに入れるのかを指定する。とりあえずそれっぽいのを指定
Enabled Apache socache_shmcb module
Enabled Apache ssl module
Deploying Certificate to VirtualHost /etc/apache2/sites-available/default-ssl.conf
Enabling available site: /etc/apache2/sites-available/default-ssl.conf
Please choose whether HTTPS access is required or optional.
——————————————————————————-
1: Easy – Allow both HTTP and HTTPS access to these sites
2: Secure – Make all requests redirect to secure HTTPS access
——————————————————————————-
Select the appropriate number [1-2] then [enter] (press ‘c’ to cancel): 2 ←httpでアクセスしてきたらhttpsにリダイレクトさせる
Created redirect file: le-redirect-aoboshi.org.conf
Rollback checkpoint is empty (no changes made?)
——————————————————————————-
Congratulations! You have successfully enabled https://aoboshi.org
You should test your configuration at:
https://www.ssllabs.com/ssltest/analyze.html?d=aoboshi.org
——————————————————————————-
$
apacheを立ち上げて、さあ確認。
$ sudo systemctl start apache2
…ブログに繋がらない状態になりました。httpsはおろかhttpsでも…。
試行錯誤した結果、/etc/hostsにホスト名とIPアドレスを入れたら復旧しました。
$ cd /etc
$ vi hosts
35.185.230.144 aoboshi.org
一応URLをhttpsにしても繋がるようになりました。
3.仕上げ
【リンクの修正】
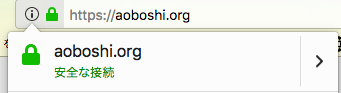
https://aoboshi.org
で繋がるようになったのはいいのですが、SafariのURLバーに南京錠アイコンがつきません。
Firefoxで見てみたところ、
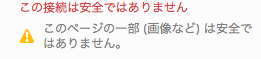
どうやら、画像指定がhttpで書いているため、httpsとhttpが混在していたようです。
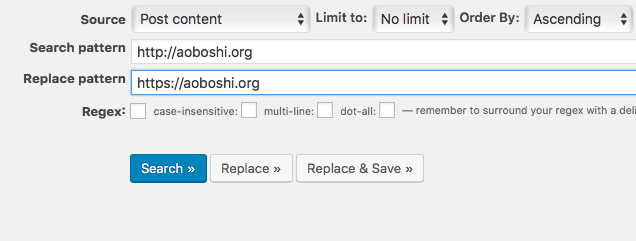
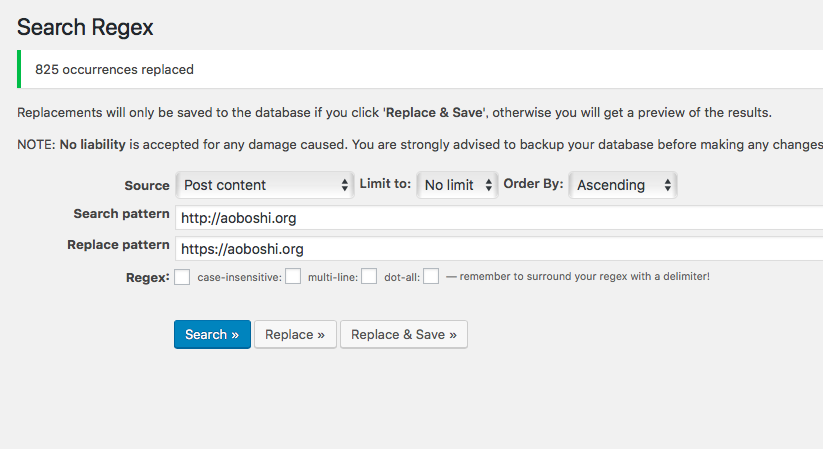
以前も使用したSearch Regexで一括置換します。
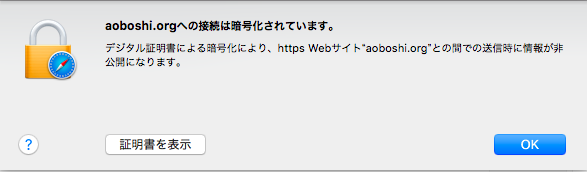
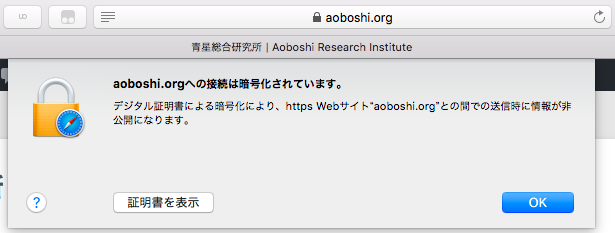
置換後、Safari、Firefoxともにhttps接続である表示がされるようになりました。
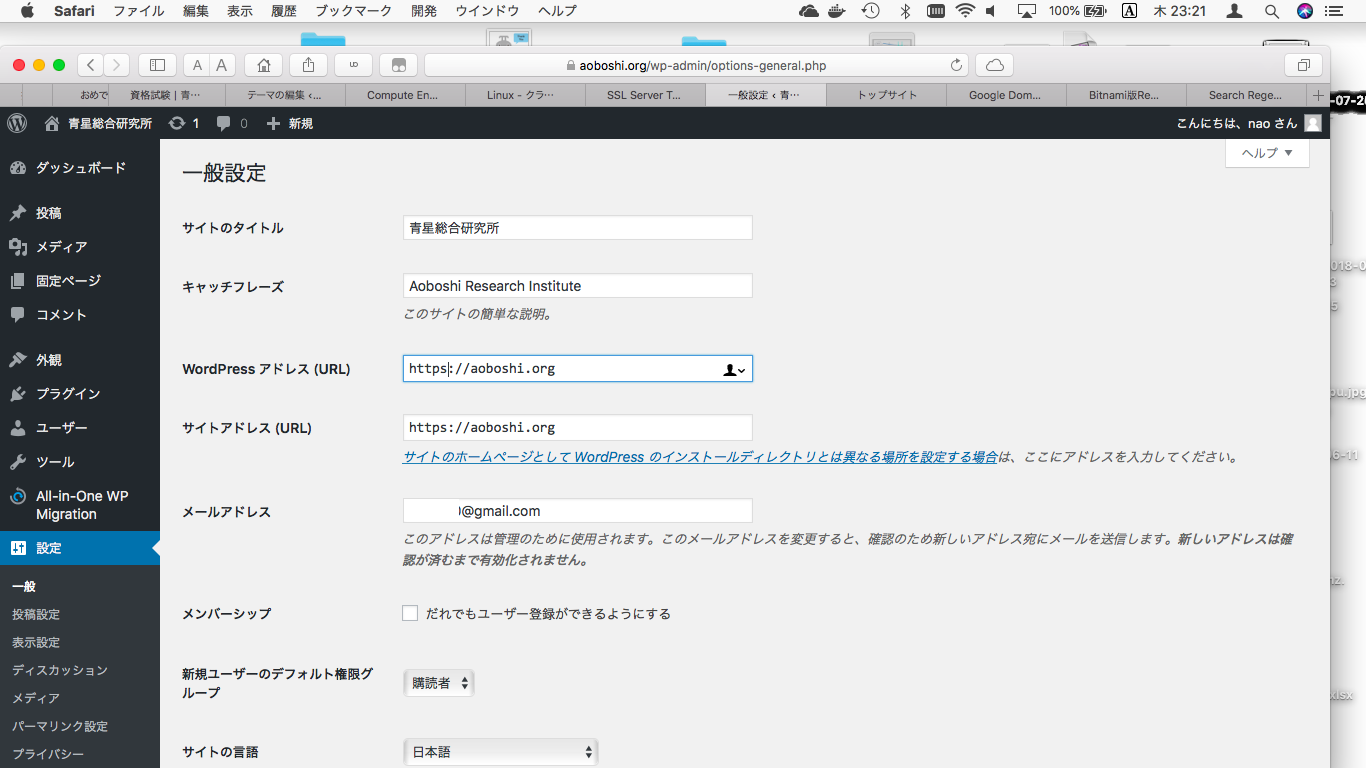
WordPressのアドレス設定もhttpsに変えます。
【httpで接続してきたらhttpsにリダイレクトするようにする】
上記にも書いていますがcertbotで設定した際に
Please choose whether HTTPS access is required or optional.
——————————————————————————-
1: Easy – Allow both HTTP and HTTPS access to these sites
2: Secure – Make all requests redirect to secure HTTPS access
——————————————————————————-
Select the appropriate number [1-2] then [enter] (press ‘c’ to cancel):2
httpで接続してきたらhttpsにリダイレクトするようにする設定をしたはずなのに、httpでアクセスしてもhttpsになりません。
いろいろ調べた結果、バーチャルホストの設定が正常に入っていないのが原因であるようだとわかりました。
certbotも「We were unable to find a vhost with a ServerName or Address of aoboshi.org.」と言ってましたし。
/etc/apache2/sites-available/wordpress.conf
には、
と、http用の設定が入っているようなので、
に下記4行を追加してapacheを再起動したところ、
ServerName aoboshi.org
RewriteEngine On
RewriteCond %{HTTPS} off
RewriteRule ^(.*)$ https://%{HTTP_HOST}%{REQUEST_URI} [R,L]
httpで接続してきたらhttpsにリダイレクトするようにするようになりました。
ついでに、
とhttps用の設定が入っている
/etc/apache2/sites-available/default-ssl.conf
にも
ServerName aoboshi.org
の1行が入ってなかったので入れました。
長々と書きましたが、なんとかhttps化することが出来ました。
4.その他、更新について
Let’s encryptで取得した証明書の期限は90日なので定期的に更新が必要です。
certbot renewコマンドで更新できるようなので、やってみようとしましたが、
$ sudo certbot renew
Saving debug log to /var/log/letsencrypt/letsencrypt.log
——————————————————————————-
Processing /etc/letsencrypt/renewal/aoboshi.org.conf
——————————————————————————-
Cert not yet due for renewal
The following certs are not due for renewal yet:
/etc/letsencrypt/live/aoboshi.org/fullchain.pem (skipped)
No renewals were attempted.
まだ期限じゃないから必要ないですよとスキップされます(まだ導入して数日ですし)。
systemdの設定を見ると、定期的に更新する設定が入っているようなので、静観です。
$ cd /lib/systemd/system/
$ cat certbot.timer
[Unit]
Description=Run certbot twice daily
[Timer]
OnCalendar=*-*-* 00,12:00:00
Persistent=true
[Install]
WantedBy=timers.target
$ cat /lib/systemd/system/certbot.service
[Unit]
Description=Certbot
Documentation=file:///usr/share/doc/python-certbot-doc/html/index.html
Documentation=https://letsencrypt.readthedocs.io/en/latest/
[Service]
Type=oneshot
ExecStartPre=/usr/bin/perl -e ‘sleep int(rand(3600))’
ExecStart=/usr/bin/certbot -q renew
PrivateTmp=true